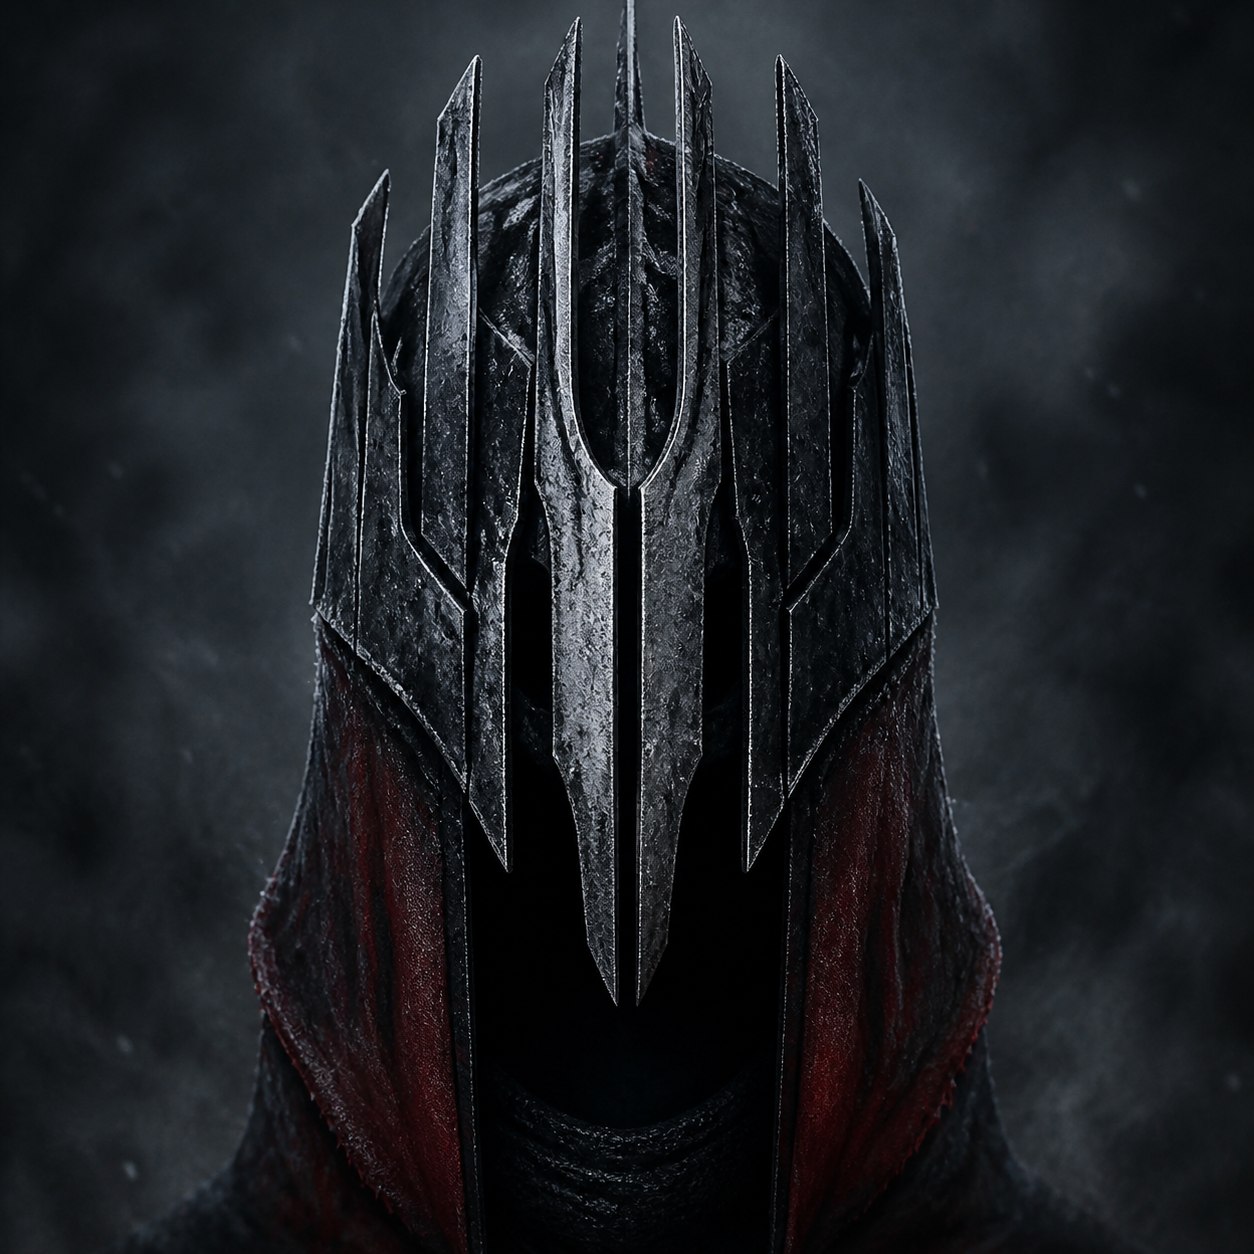
War in the North Bosses and Encounter Tactics
A role-first boss guide for Tharzog, the Barrow-wight Lord, Bargrisar, Saenathra, Urgost, and Agandaur with safe damage windows and add control.
A rule for every boss
Do not burn every cooldown during the first visible health bar. Read the arena, identify the add spawn, and keep one control tool for the moment the boss stops being the only target. The current Legacy Edition has reported target-lock and interface changes, so the tactics below are role and positioning advice rather than a promise about exact hitboxes.
Tharzog — Fornost citadel
Tharzog is the first check on whether the party understands focus fire. Farin should keep the boss facing away from the support. Eradan removes archers and punishes the recovery after a committed swing. Andriel protects the frontline when the guard joins the arena. Do not chase a fleeing add through the gate: finish the current wave, then return to the boss while the party is together.
Barrow-wight Lord — tomb arena
The Barrow-wight encounter punishes tunnel vision. Clear the immediate Wights before committing to the Lord, break urns only when the room is safe, and keep a retreat lane around the circular arena. Farin’s stagger and Andriel’s control buy Eradan the time to attack from the side. If the Lord disappears or the arena fills with spirits, stop spending potions on damage and re-form the party.
Bargrisar — Stone-giant
The historical route describes Bargrisar as slow but extremely punishing. Dodge the boulder and heavy swing, then target the arms during the opening. Once the arms are damaged, the exposed head becomes the high-value target. Eradan should stay outside the stomp radius, Farin should draw the angle away from the party, and Andriel should save recovery for the player who gets clipped rather than standing in melee to chase a low-value hit.
Saenathra — Mirkwood
The spider fight is a crowd-control test. Remove webbed adds and any enemy that can pin Andriel before committing to the boss. Farin can hold a narrow lane; Eradan can fire through the opening after Saenathra finishes a committed move. When the arena is crowded, switch targets rather than continuing a long attack animation into a web. The hidden Captive camp is a separate route; clear it before leaving Mirkwood if you are following the historical missable plan.
Urgost — Grey Mountains
Treat the dragon approach as a resource chapter. Keep one ranged interruption, one emergency recovery, and enough stamina to dodge after the first attack. Do not spend all healing before the lair proper. The original route names the Grey Mountains as the location learned from Radagast; older indexes split the final return differently, so use the quest title on the current map rather than a chapter number.
Agandaur — final route
The final encounter is easiest when the party agrees who is calling movement. Keep the host near the objective, use Farin to hold pressure, and let Eradan punish exposed targets instead of forcing a melee trade. Andriel should reserve the protection/recovery cycle for the scripted danger window. If you are testing the historical Eagle Savior condition, record whether Beleram was summoned and whether the current achievement description matches before repeating the fight.
Legacy testing notes
Before a boss: save at the last safe checkpoint, inspect each hero’s weapon, confirm the quest log, and set a short note for the target platform. After the fight: verify the reward, the next objective, and the save indicator. This turns a failed trigger into a reproducible report instead of a lost evening.
Route references: GameFAQs main-quest objectives and the original manual’s combat and role guidance.
Recommended guide route
Sources & verification
Open the evidence used for this guide. Community reports are not official patch notes.
- Evidence
- Evidence: Partial
- Checked
- Checked: 8/25/2026